Tips for the Poser Hair Room
Taming a Wild Beast
One of the most challenging aspects of creating believable 3D images—in Poser, at any rate—is getting believable hair. There are transmapped hair figures and props that serve the purpose up to a certain point, but after a certain level of realism they cannot take you any farther.
For that, we need the Poser Hair Room, which unfortunately has not seen as much development as it deserves, and is difficult to master. I'm still learning a lot of these ropes, but here are a few things I have learned. (I plan on adding more notes over time.)
- Do not uncheck Visible in your skullcap's Properties tab! Instead, use Transparency setting 1.0 in the Materials room, hooked up to a fully black image file. This is not the same thing, and doing it the latter way will allow you to use far lower hair density and get far better realism. (If you get rendering artifacts, copy your character's face skin setting to the skullcap, but add back full transparency. It may not make sense to you ... but it works.)
- Regarding the Styling Controls subtab, do your styling with low verts per hair and low hair density, and then up those numbers to render levels at the end. This will allow faster styling using less of your computer's resources.
- Plan ahead. It works best to grow and position lower layers before upper ones.
- Style from root to tip, i.e. begin closest to the scalp and work your way down the hair strands.
- If you style or shorten only a few guide hairs in a given hair group, the "populating hairs" may have stray strands that don't know what to do.
- To draw selected hair together or spread it apart, use the Scale styling tool. Dragging toward the left draws the hair together; dragging toward the right spreads it apart.
- Before rendering, be sure to adjust the Minimum Shading Rate on each hair group's Properties tab (visible in the Pose room). By default, Poser sets this at 8.0, which is far too high for rendering fine hair details.
- If the render is too much for your system, you can uncheck the Light emitter option on the Properties tab of your hair group—but this will sacrifice some realism.
- If you end up with blotchy shadows, you can turn off the Casts shadows option on your Properties tab of your hair group, as well, but this will lose even more realism. Better would be to test different settings of softness (Shadow Blur Radius on the Properties tab) on your lights. A Shadow Blur Radius set too low can result in blotchy shadows; too high and the shadows are largely lost on hair. Test at 5.0 or so and adjust from there. Be sure you are using Ray trace shadows.
- Your hair colour will be affected a great deal by your light and render settings. By way of example, I have a material that renders reddish brown using indirect light, but it becomes a desaturated dark brown without IDL.
- Learn what various render settings do and what sort of tradeoffs to make. With IDL (which I always use), I have had the best luck with the following: Irradiance caching: ~80. Pixel samples: at least 8. Indirect Light Quality: at least 45. Post filter size: 2. Post filter type: gaussian. I usually set my Min shading rate at 0.15 or 0.2 for final renders. My lights, unless they are ambient objects rather than Poser lights, are always raytraced, and I generally set the Shadow Blur Radius between 4–5, with between 90–100 shadow samples, and a Shadow Min Bias of .12–.20.
- When posing your character in a position that you want to use dynamics to reposition the hair, temporarily lower your Verts per hair setting on each hair prop until you've run your simulation. Then reset them. Dynamics simulations take a huge amount of resources, and temporarily reducing the verts per hair until your ready to render may be the difference between a crash and a functional simulation.
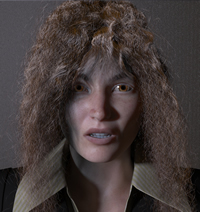
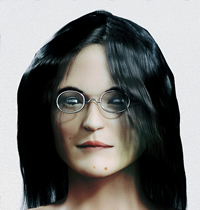
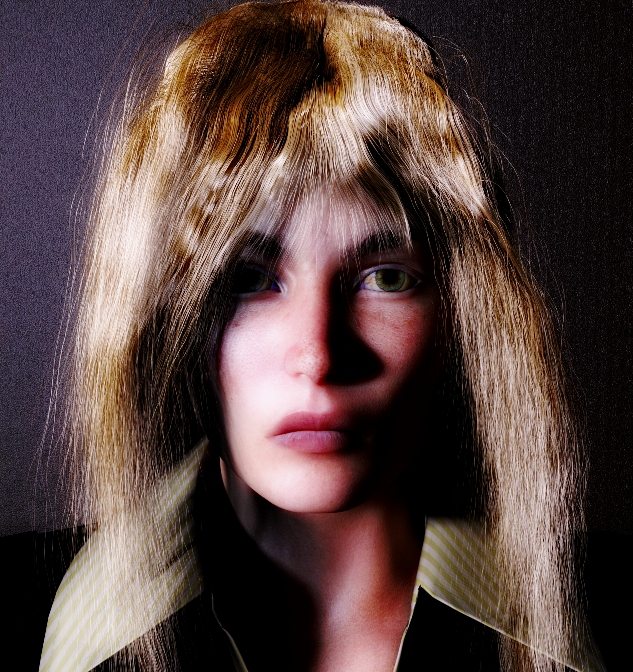
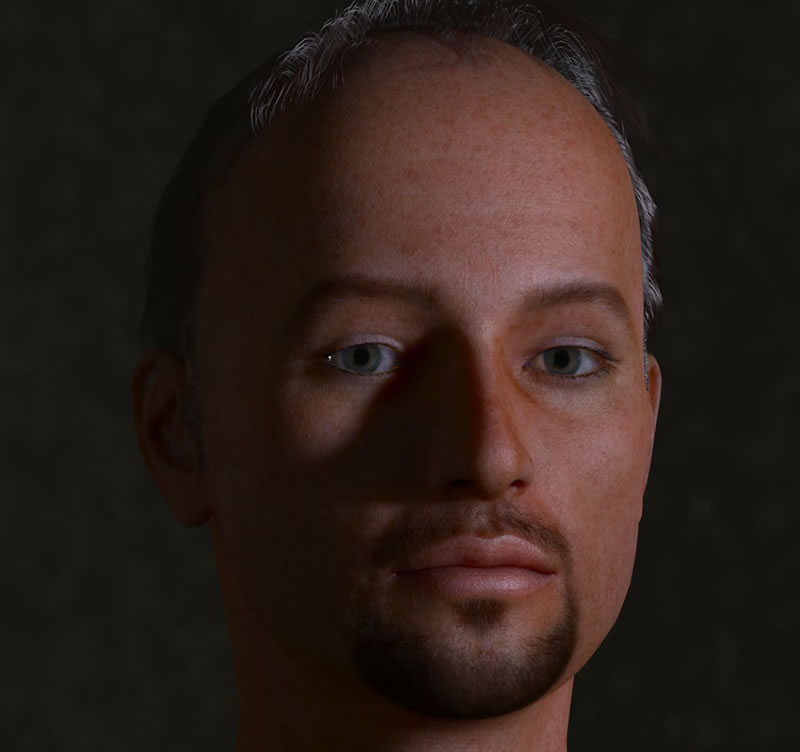
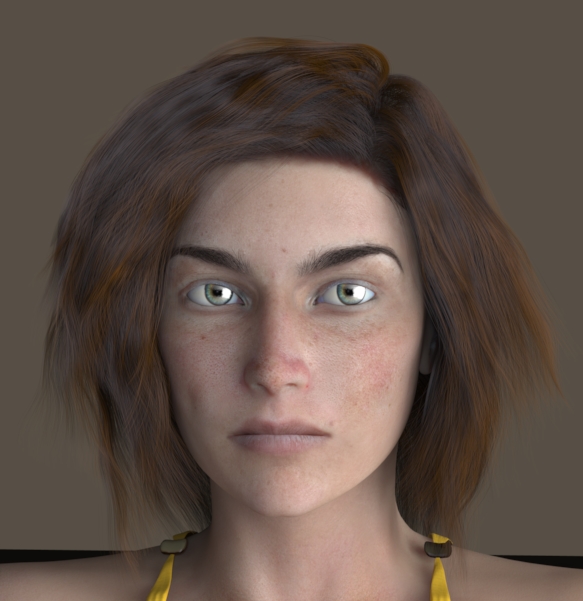
This page’s gallery shows a few examples of creations in the Hair Room. More on the way.
Check out my Freestuff section at Renderosity for free hairstyles based on the PoserHair Room.